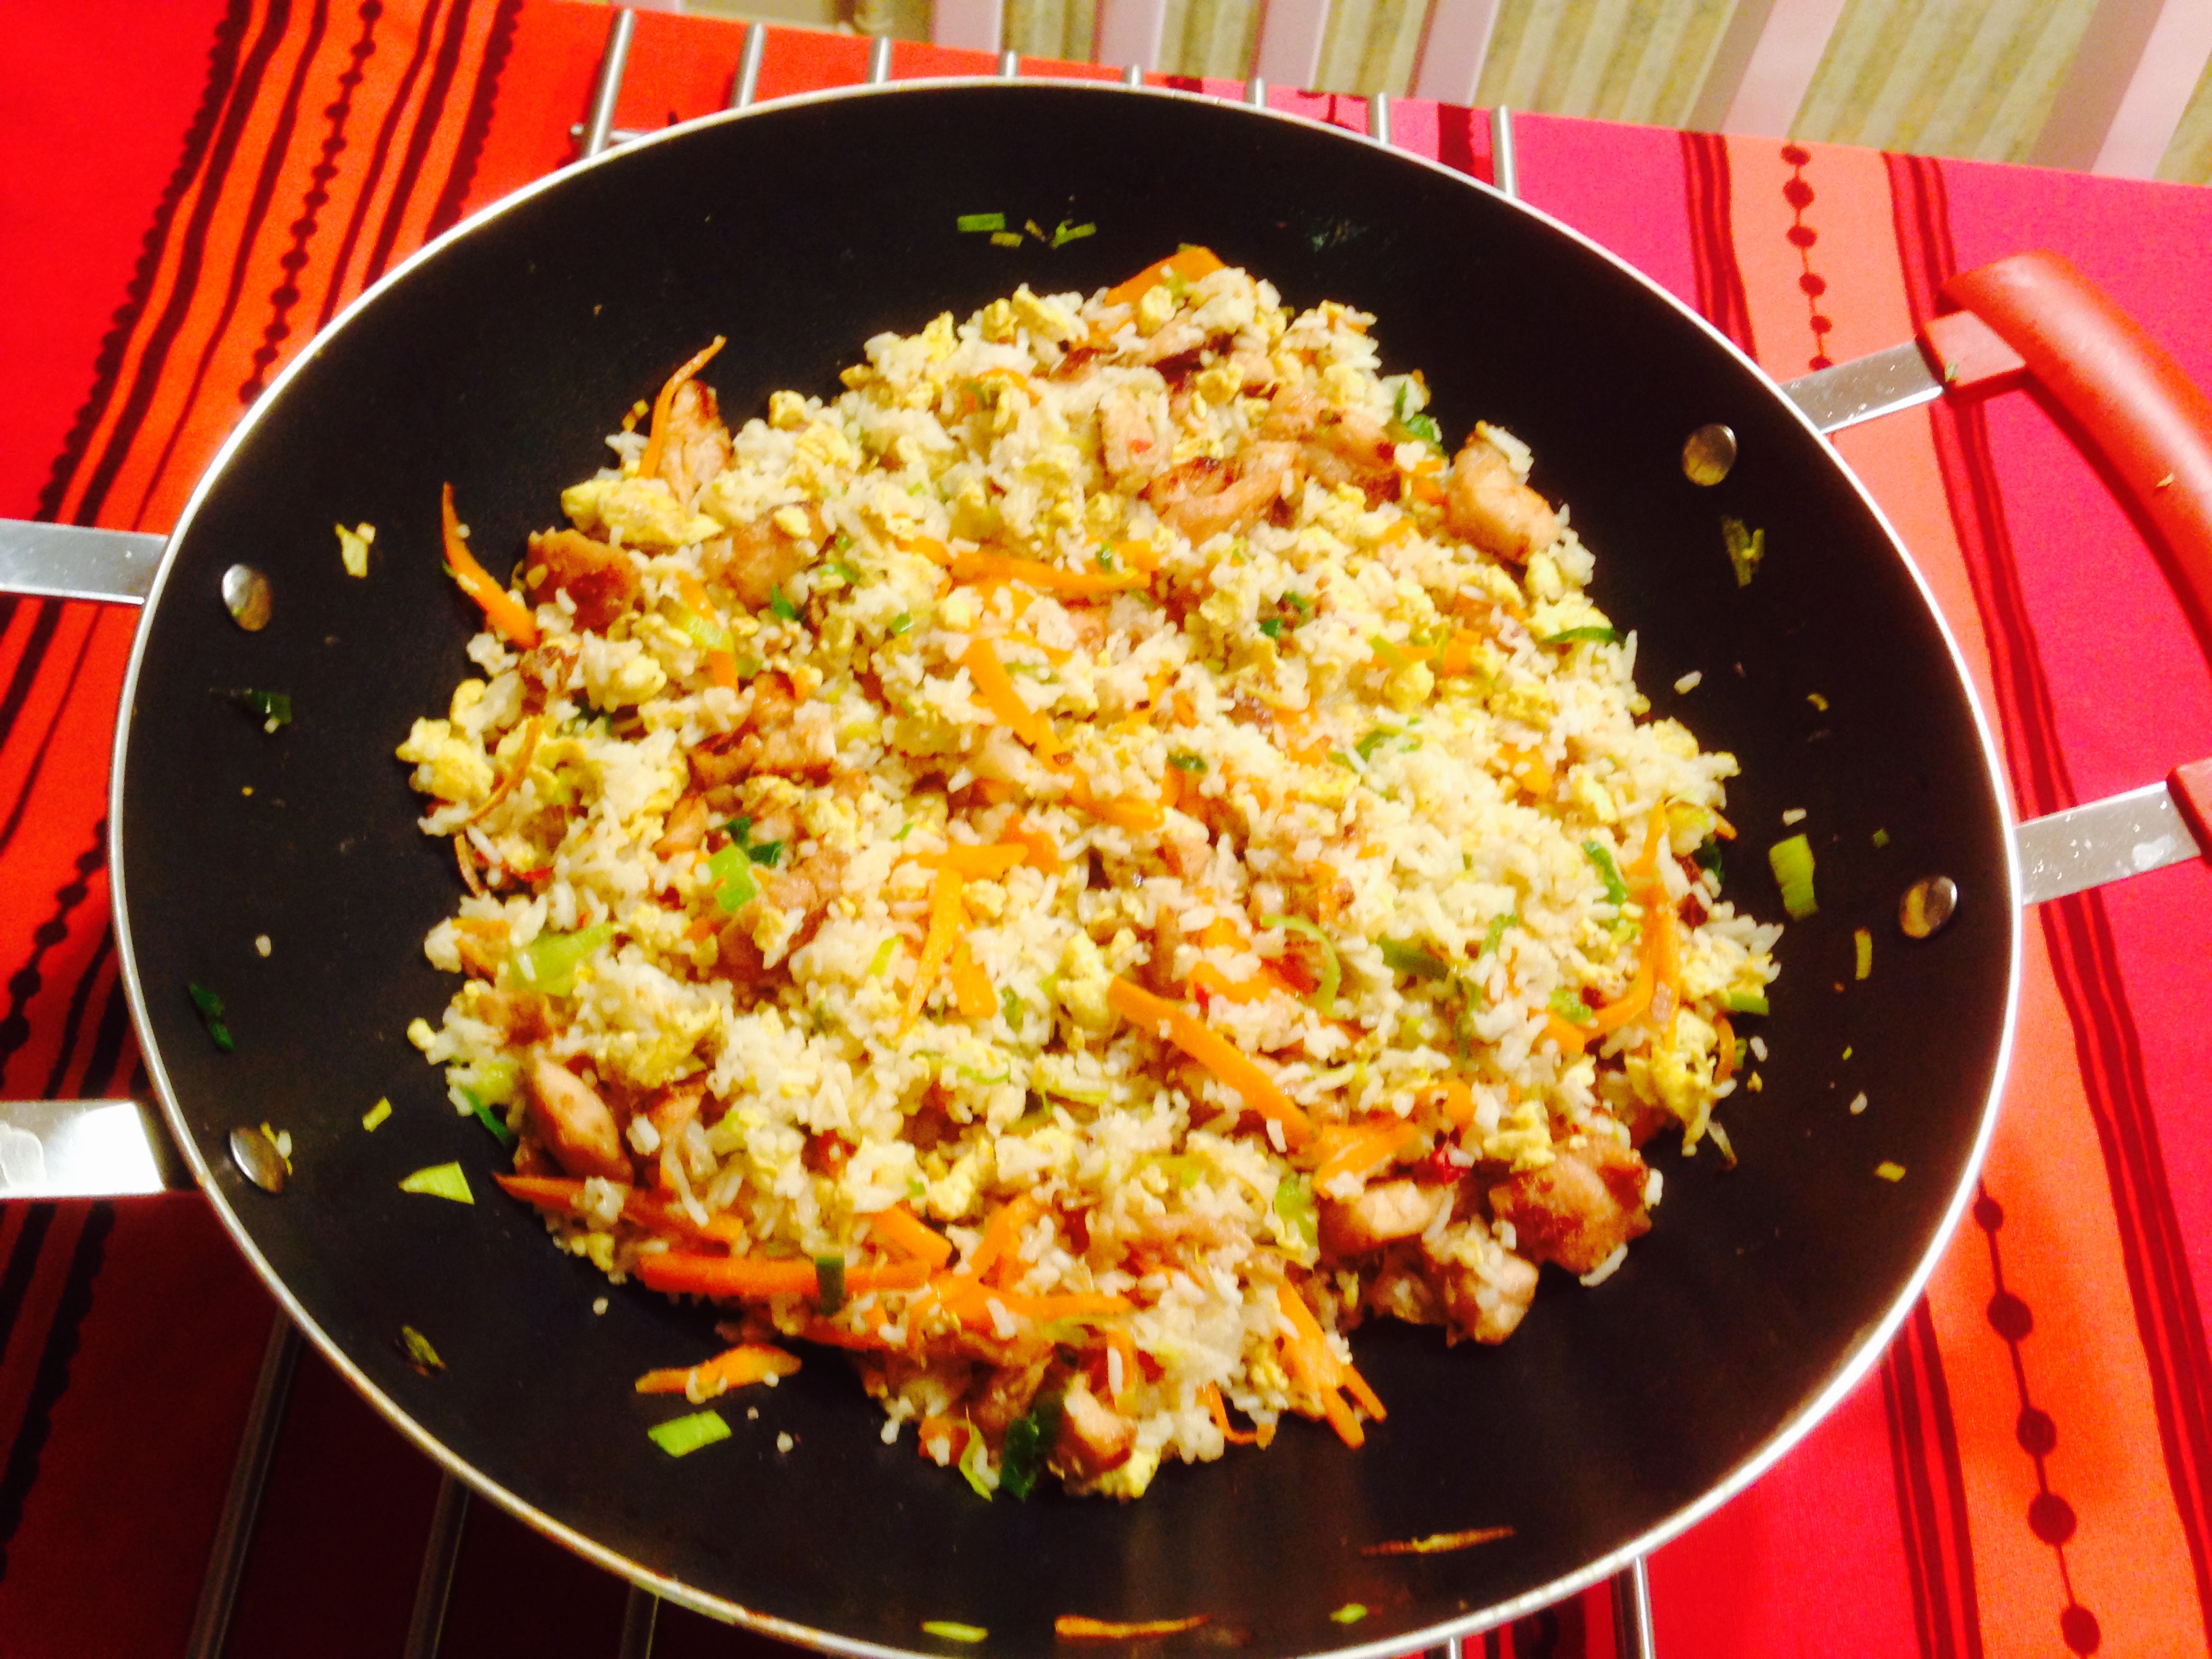
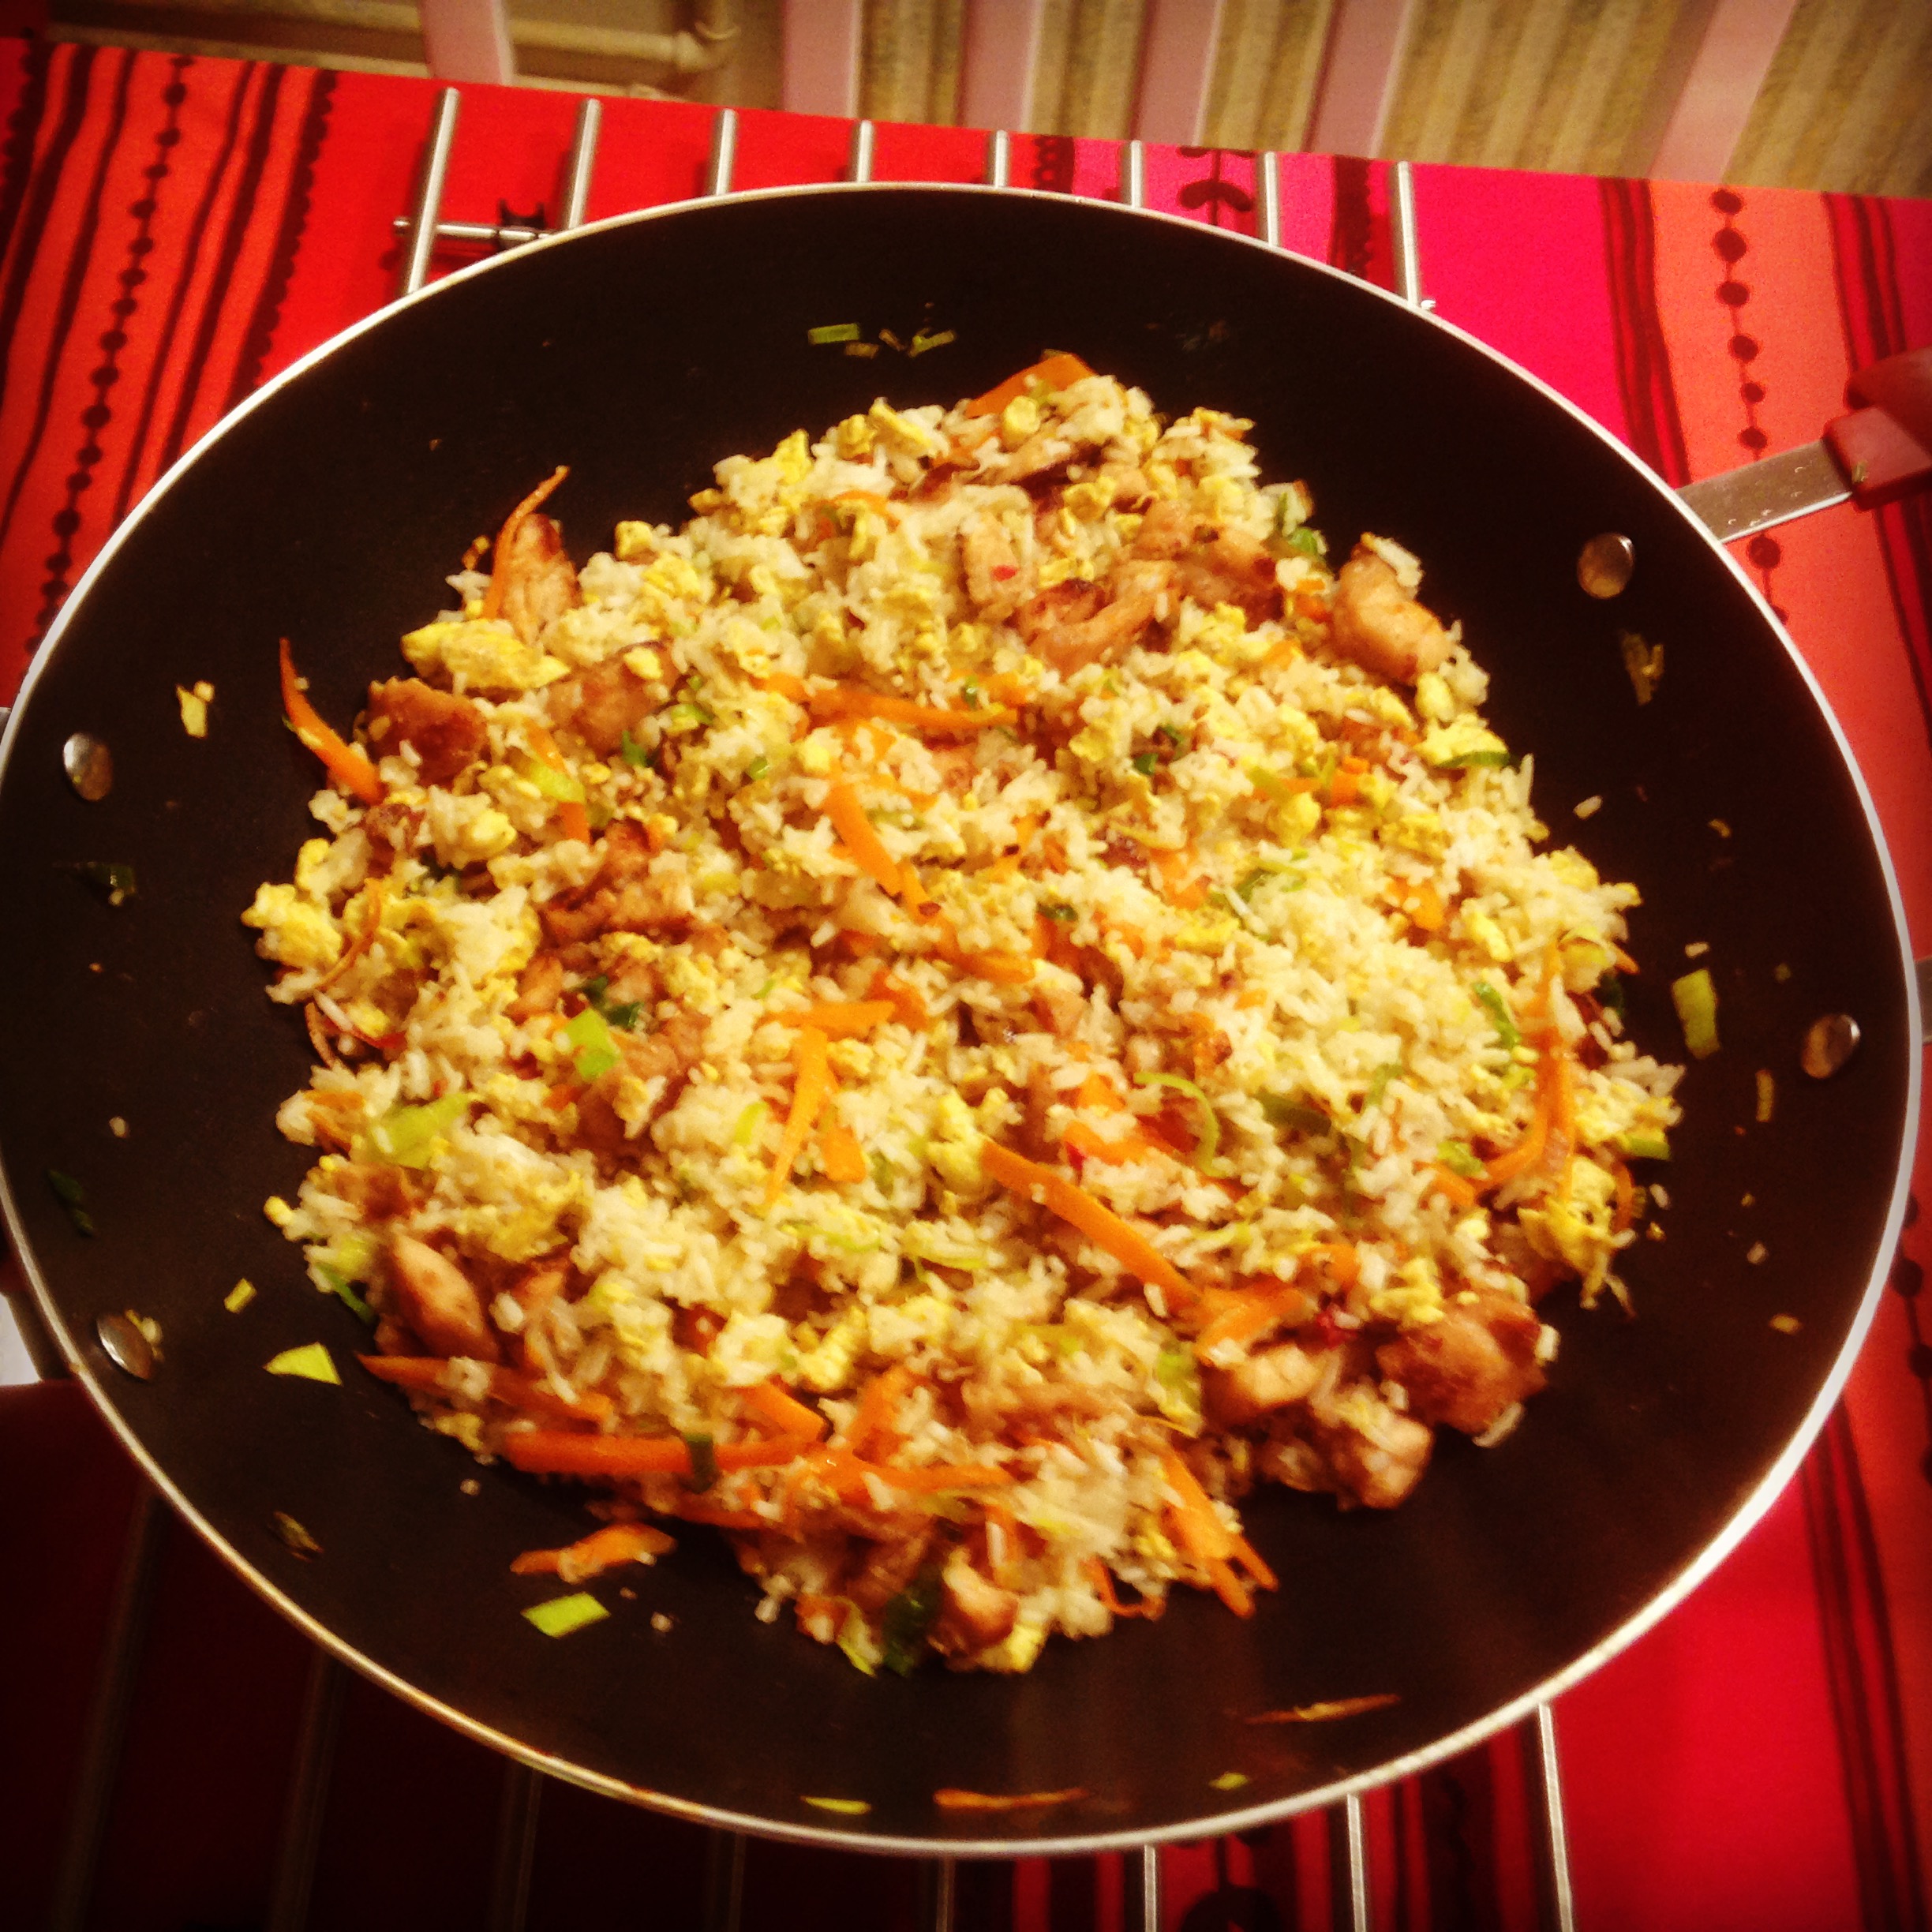
Sri Lankan style Chinese fried rice
2014-11-16 22:08:44
Print
Chicken
- 400g of chicken cut into small pieces (kana)
- 1 red chilli thinly sliced (punainen chili)
- 1/2 tea spoon of baking soda (ruokasoodaa)
- 1 tea spoons of salt (suolaa)
- 1 tea spoon of corn flour (maissijauhoa)
- 1 table spoons of cooking oil (rypsiöljy)
- 1 tea spoon of Indonesian sweet soy sauce (ketjap manis)
- 1/2 tea spoon of ginger crushed or thinly sliced (inkivääri)
- 1 cloves of garlic crushed or thinly sliced (valkosipuli)
Rice
- 3 dl of basmati or jasmine rice (basmati tai jasmiini riisi)
- 6 dl of water (vesi)
- 1 tea spoon of chicken concentrate (kana fondi)
Eggs
- 4 eggs (kananmuna)
- 2 tea spoons of pepper (pippuri)
- 1 tea spoon of salt (suolaa)
- 1 table spoons of cooking oil (rypsiöljy)
Stir fry
- 2 table spoons of cooking oil (rypsiöljy)
- 1/2 tea spoon of ginger crushed or thinly sliced (inkivääri)
- 1 cloves of garlic crushed or thinly sliced (valkosipuli)
- 2 large carrots cut Julienne (porkkana)
- 1 thin leek sliced (purjosipuli)
- 2 tea spoons of salty soy sauce (soijakastike)
- 1 tea spoon of salt if needed to taste (suolaa)
Rice
- Prepare the rice for 4 portions as instructed in the package and put it aside. You can add 1 tea spoon of chicken concentrate but remember to reduce any salt accordingly. Usually rice to water ratio is 1:2.
Chicken
- Put the chicken in a bowl and add 1 tea spoon of salt, 1 tea spoon of corn flour, 1 tea spoon of sweet soy sauce, 1/2 tea spoon of banking soda and the thinly sliced chilli.
- Mix thoroughly.
- Put it in the fridge for around 20 minutes.
- Once the chicken is ready. Put 1 table spoon of oil into a hot wok.
- Then add half the garlic and ginger to that wok and let it fry for few seconds.
- Then add the chicken. Leave the chicken flat on the wok for 2 minutes.
- Then turn the chicken other way around. We want to make the chicken little brown but not burn it.
- Put the cooked chicken into a clean bowl.
Eggs
- Beat the 4 eggs lightly with 1 tea spoon of salt and 2 tea spoons of pepper.
- Add 1 table spoon of oil to the hot wok and then add the eggs and scramble them until the eggs are little brown outside.
- Put the cooked eggs into a clean bowl.
Stir fry
- Add 2 table spoons of oil to the hot wok.
- Add the garlic and ginger. Let it fry for few seconds.
- Then add carrots and salty soy sauce and mix well.
- Cover and let it cook for a minute.
- Then add the leeks and cover mix well.
- Cover and cook for 30s.
- Then add the rice and mix well with the vegetables.
- Then add chicken and scrambled eggs and mix well.
- Let it sit on the stove for 30s but make sure nothing burns.
- Enjoy!
Notes
- I like food with less salt. You can add salt wherever mentioned as you prefer.
- For the stir fry you can add bean sprouts, broccoli, bamboo shoots if you have them.
- Serve with sweet chilli sauce or hot chilli sauce if you can't find Chinese chilli paste.
Mohanjith's Blog https://mohanjith.net/blog/